Claude Code in VS Code: Extension Panel, Integrated Terminal, or External Terminal?
You can run Claude Code with VS Code in the extension panel, in VS Code’s integrated terminal, and in an external terminal connected to VS Code via /ide. All three ways share the same underlying engine but expose different features and have different limitations.
This post documents what each surface offers. In particular, you’ll learn about:
- The extension’s visual capabilities
- The CLI’s full feature set
- The diagnostics paradox between them
- The pseudo-TTY gotcha in the integrated terminal
Finally you’ll explore when to use each mode when working with Claude Code in VS Code.
Three Ways to Run Claude Code in VS Code
Claude Code runs with VS Code in three distinct ways. Here’s a short summary of them:
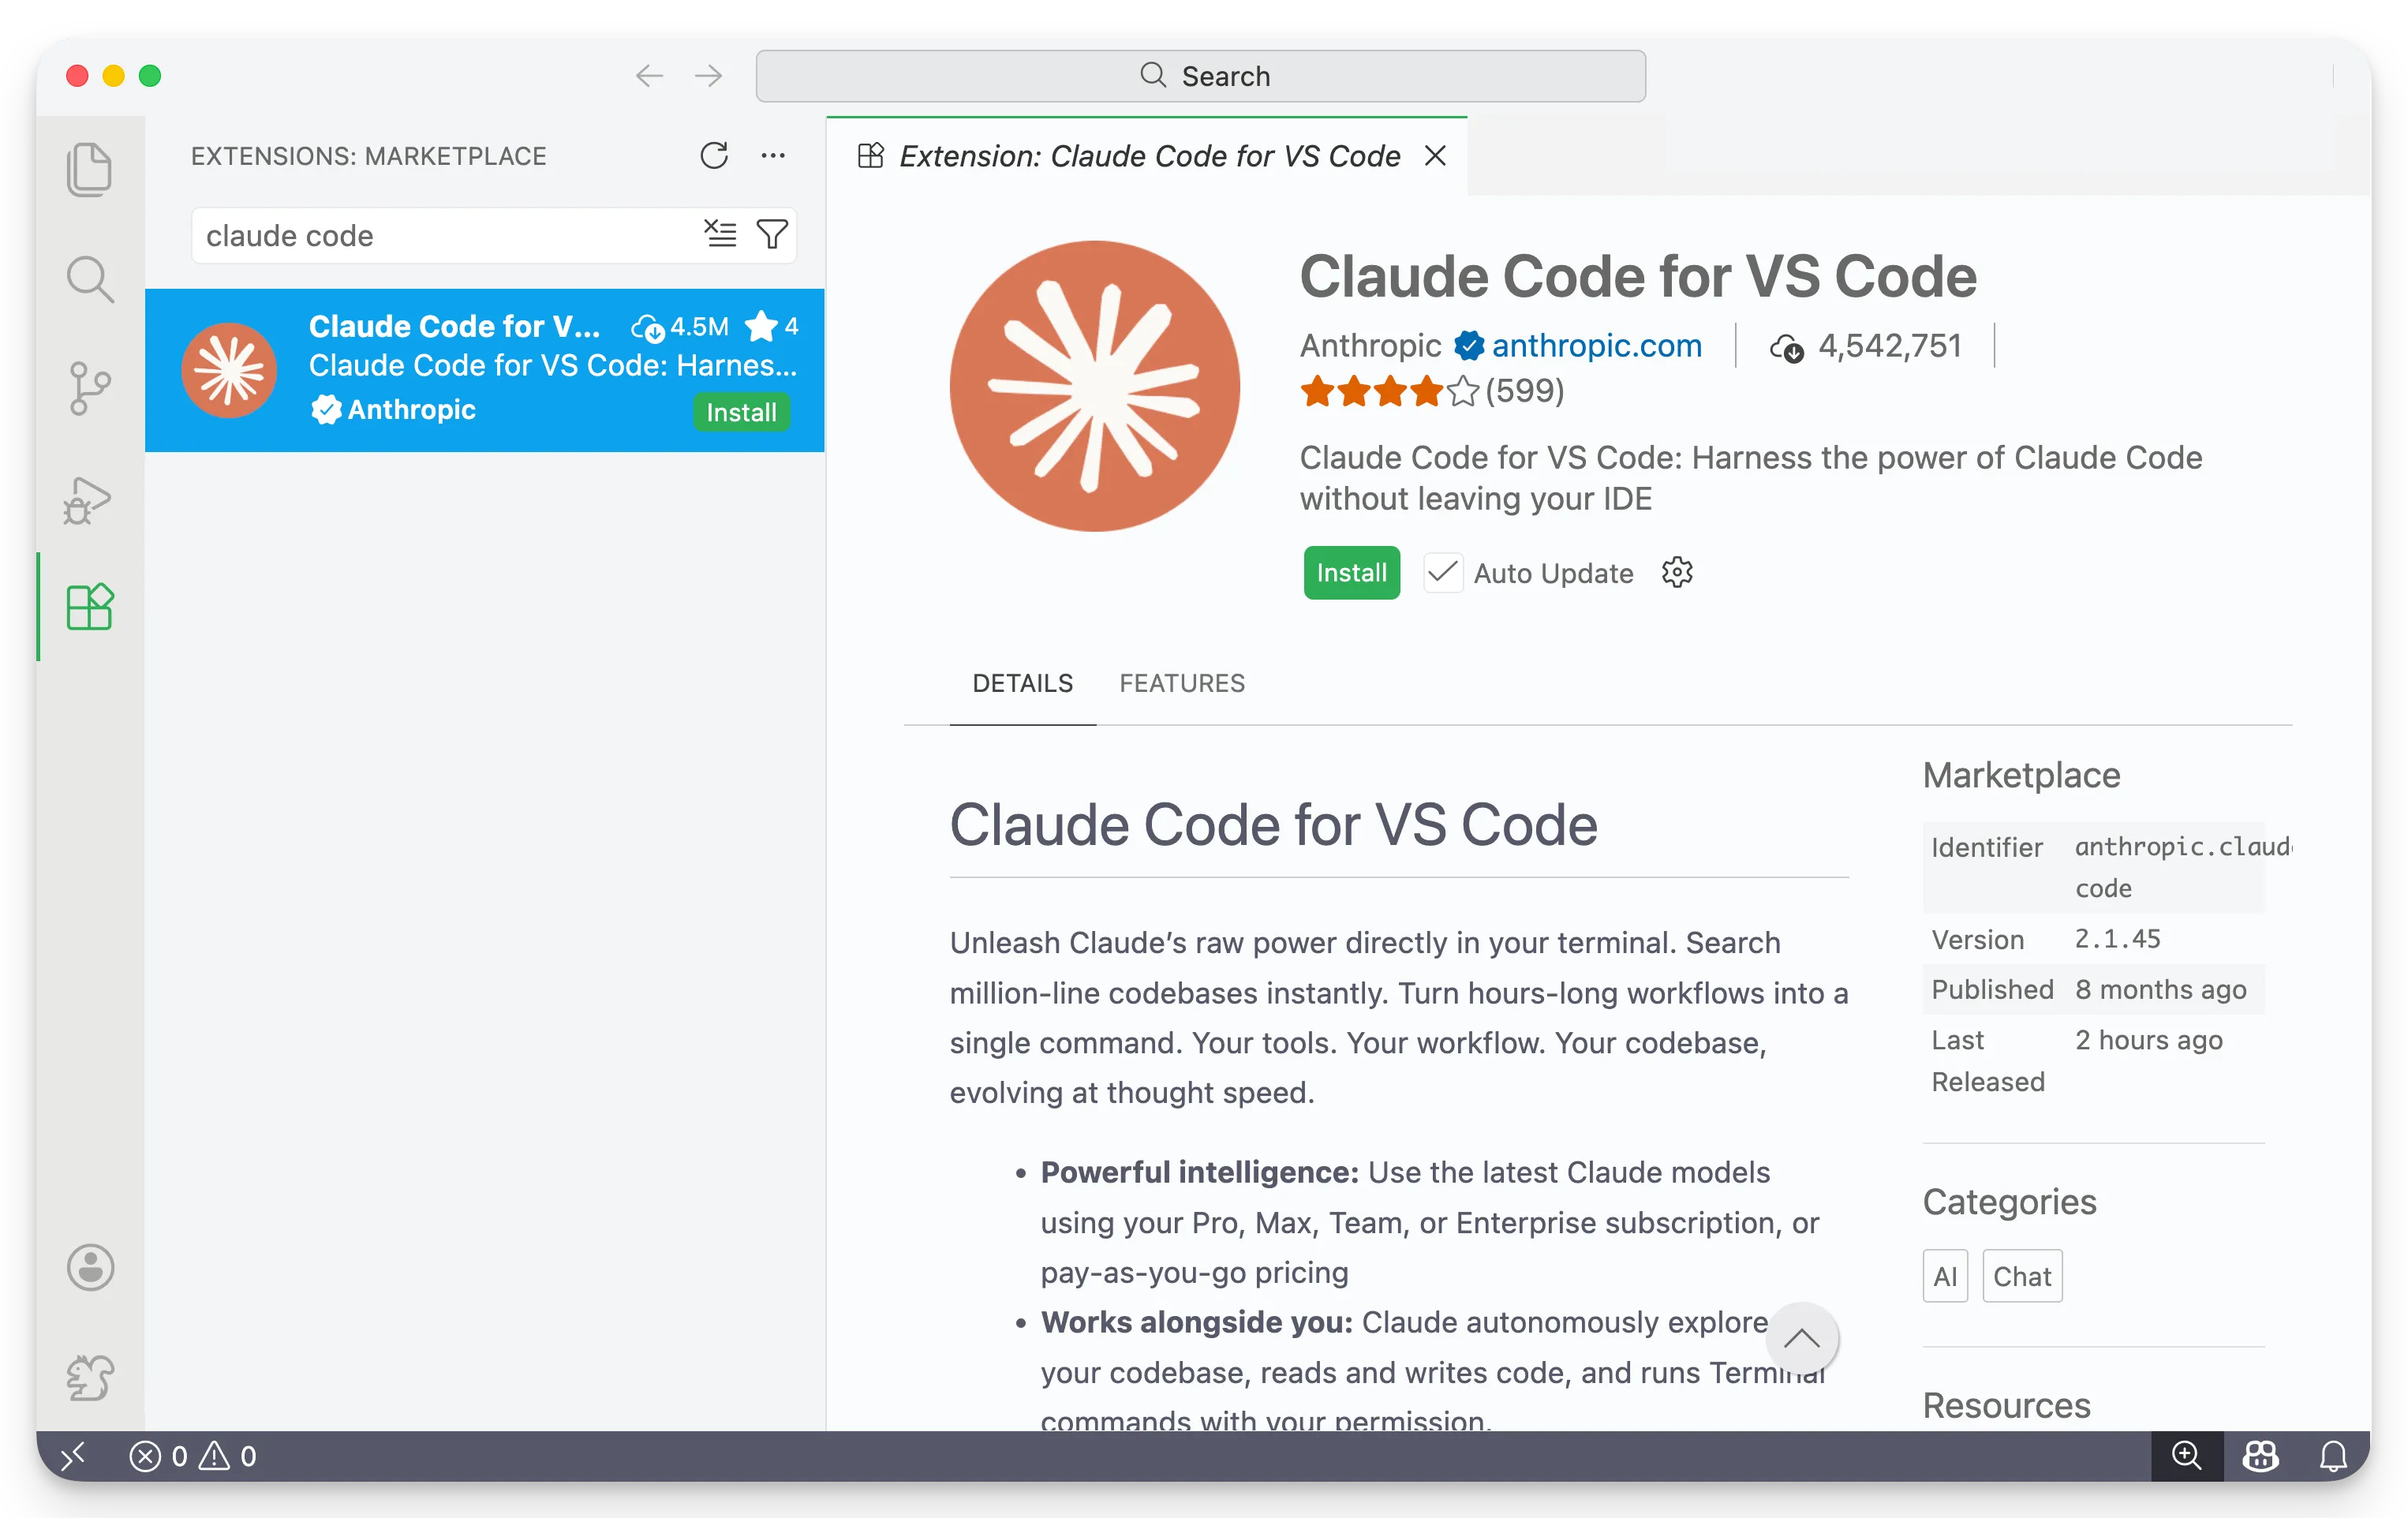
Extension panel: A graphical interface built into VS Code. Install the Claude Code extension from the VS Code Marketplace:
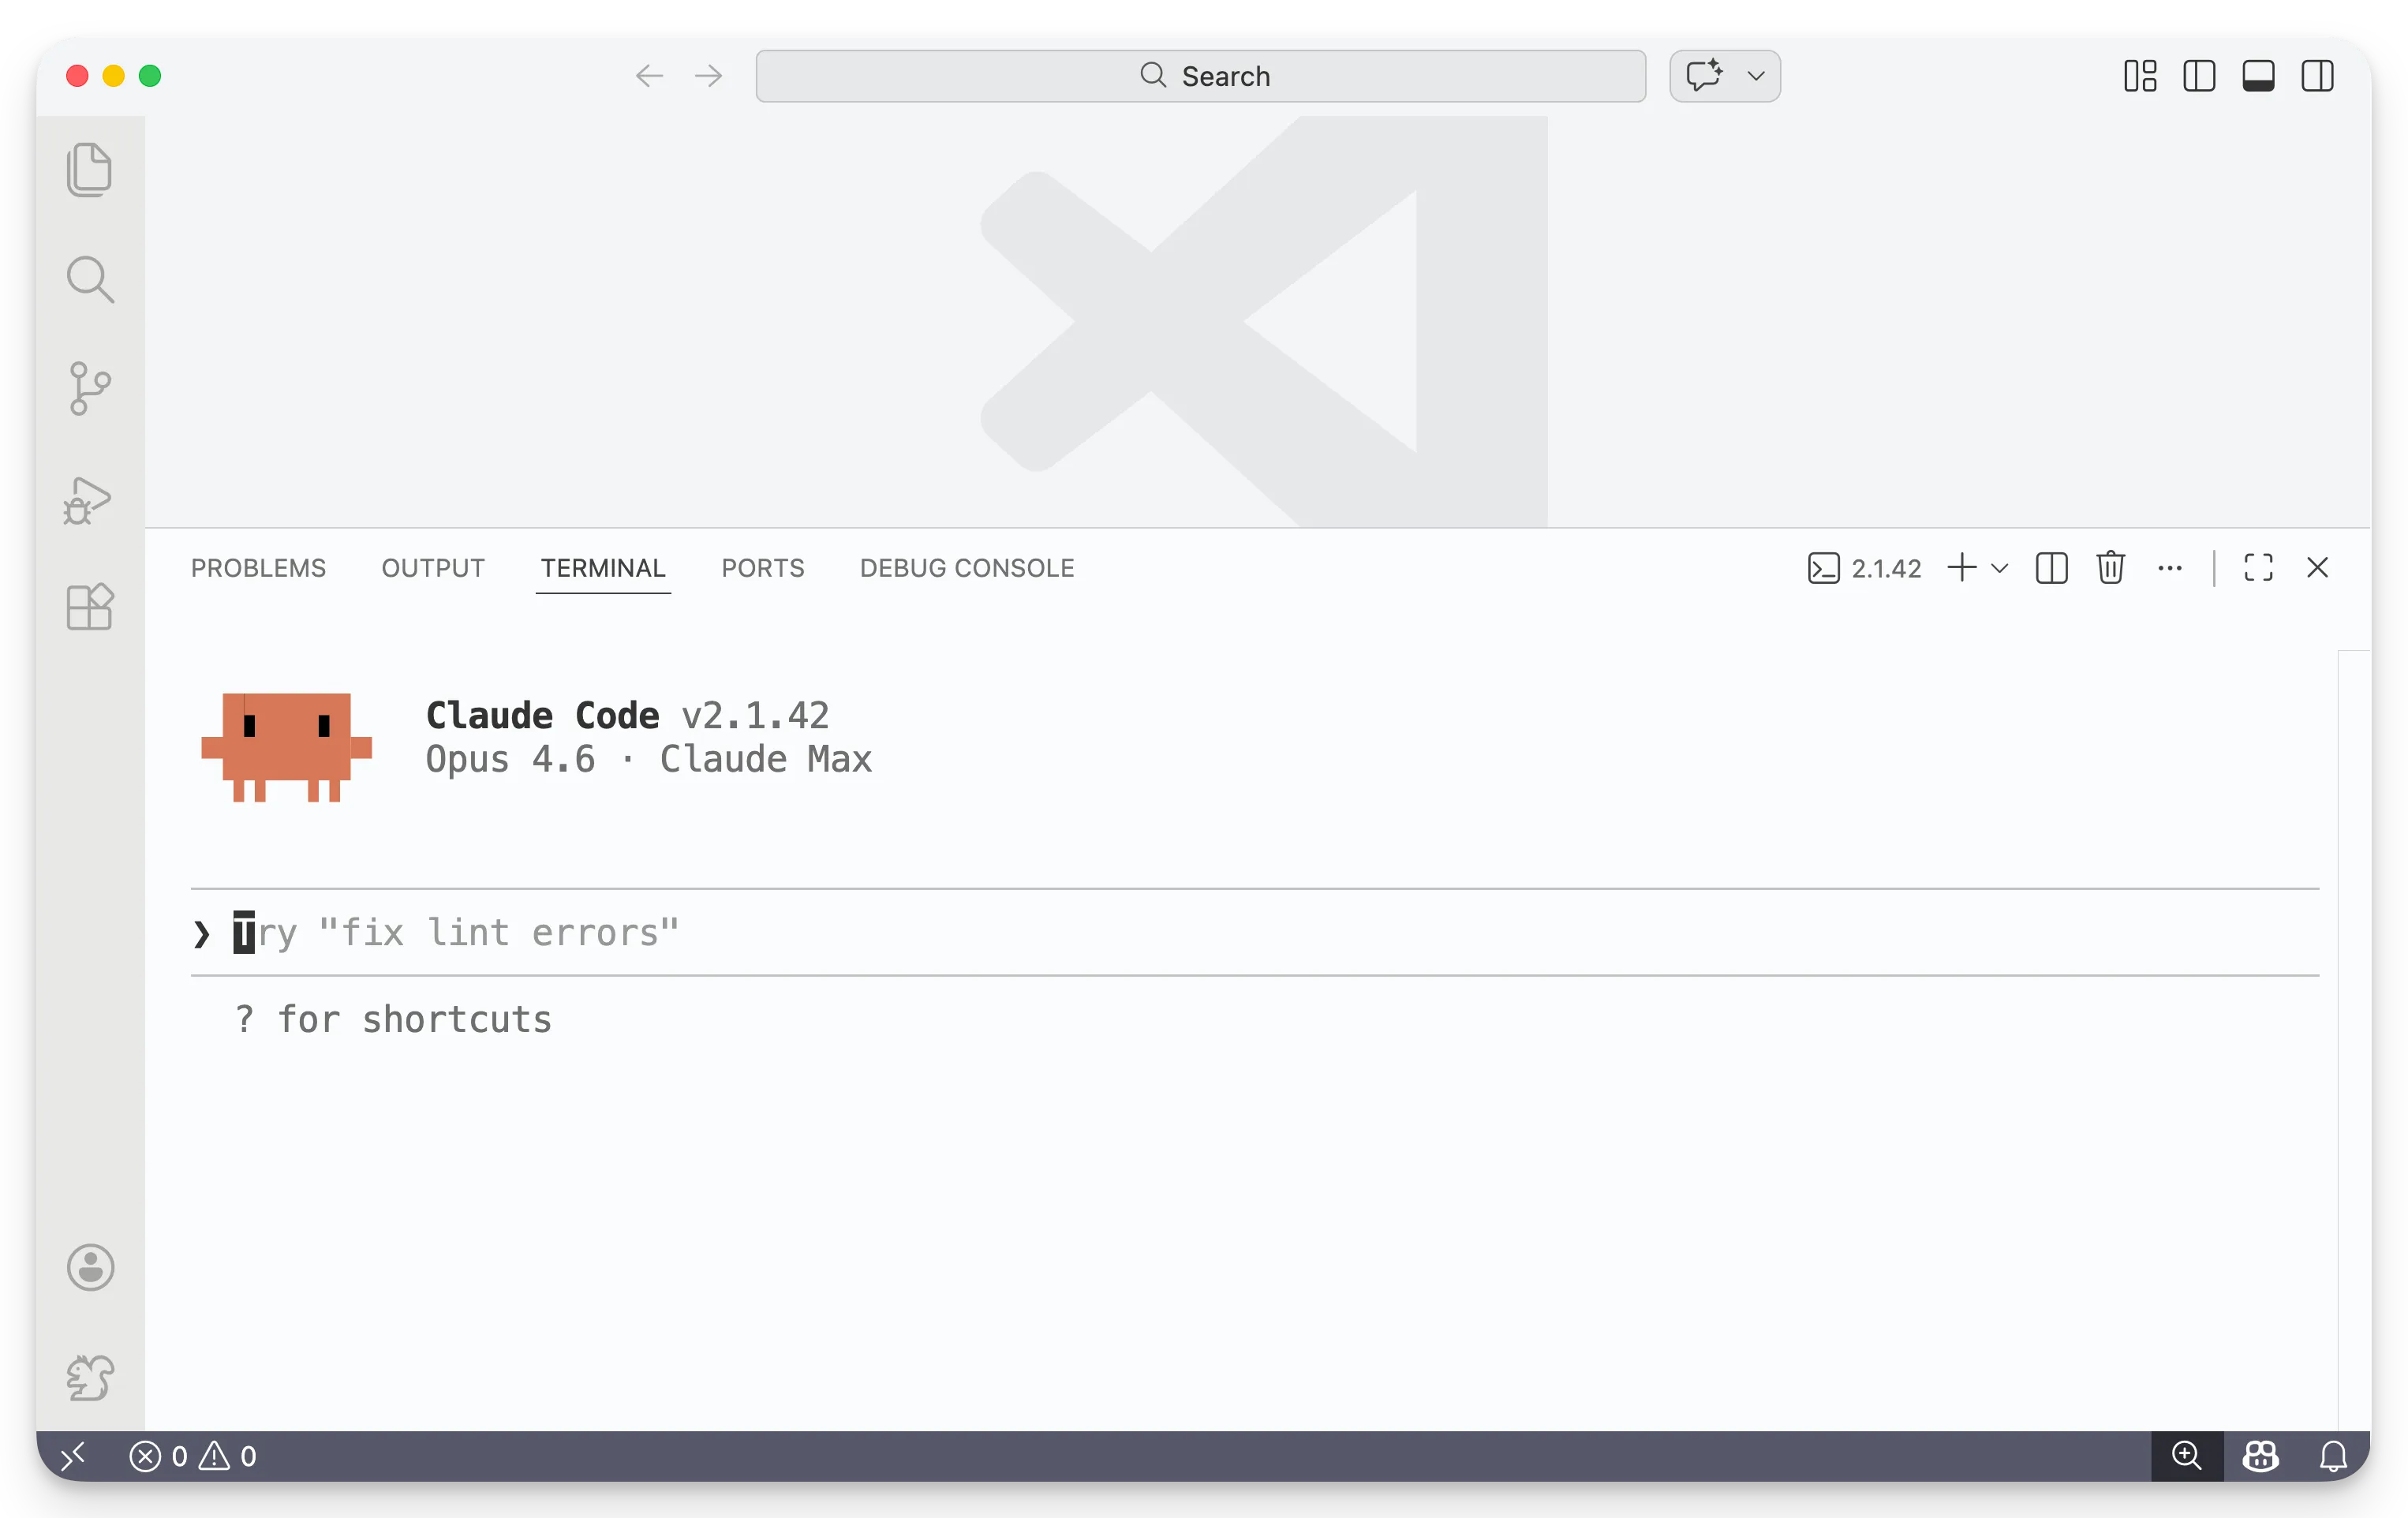
CLI in the integrated terminal: The full Claude Code CLI, running inside VS Code’s built-in terminal. Open the integrated terminal and run claude. The CLI automatically connects to VS Code’s language server and diff viewer:
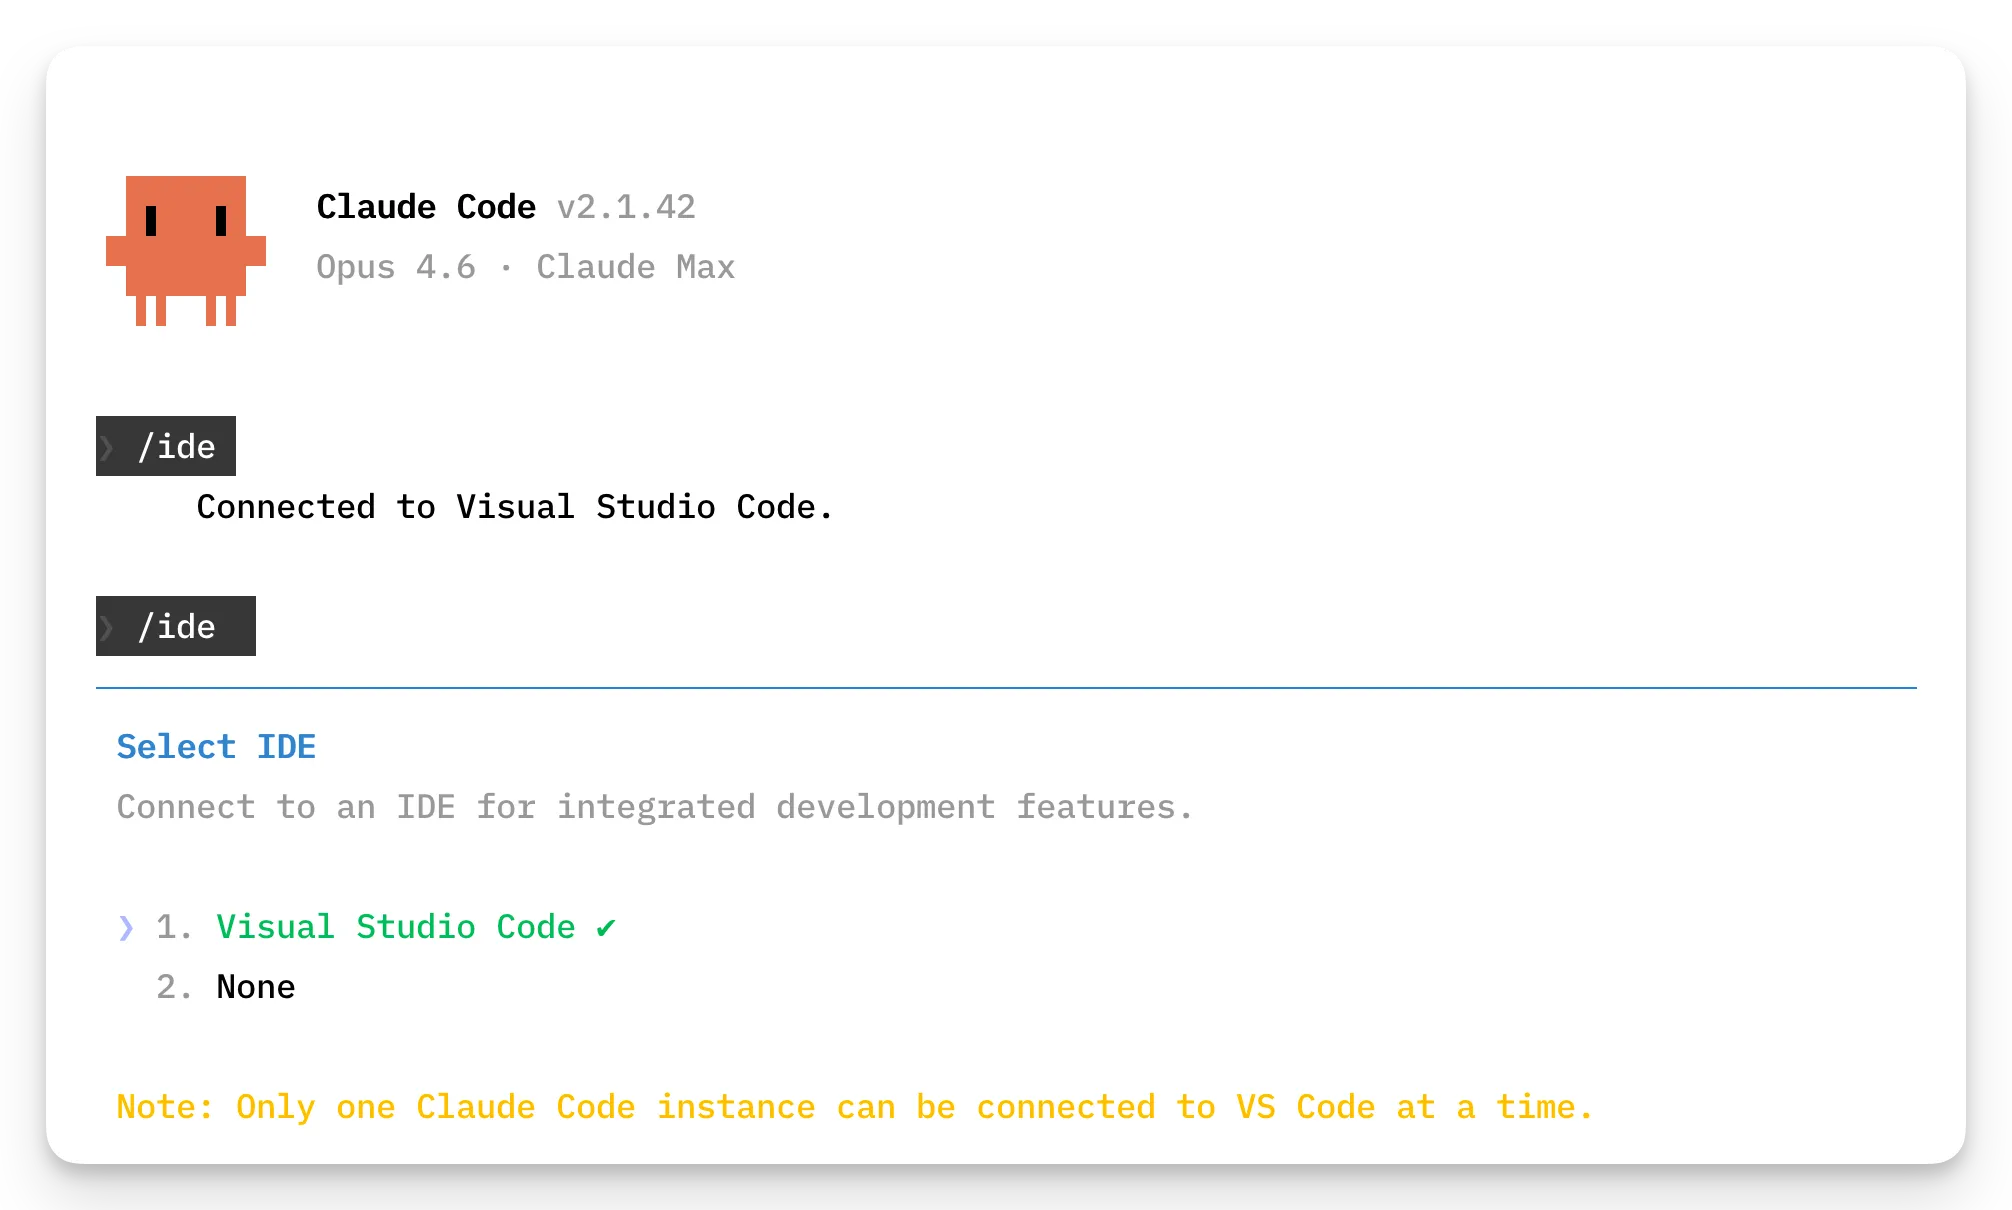
CLI in an external terminal: The full Claude Code CLI, running in a standalone terminal app like iTerm2 or Terminal.app. Open your terminal, navigate to your VS Code project directory, run claude, then type /ide:
All three modes share the same underlying engine. Your conversation history transfers between them. You can verify this by running claude --resume. When you do, you’ll see all conversations with Claude Code, no matter where you had them on your system.
Configuration files (~/.claude/settings.json, CLAUDE.md), MCP servers, permissions, and checkpoint history all carry over.
What the Extension Panel Does Best
The extension panel is a graphical frontend built into VS Code. It provides capabilities that no terminal can replicate.
Visual diff review is the headline feature. When Claude proposes edits, the extension opens VS Code’s native side-by-side diff viewer with accept and reject buttons. Small changes appear inline in the chat panel; larger changes open in a full diff editor. Reviewing multi-file refactors this way is much faster than scanning terminal-rendered diffs.
@-mentions with autocomplete let you reference files, line ranges, and terminal output without copy-pasting. Type @filename with fuzzy matching, or highlight code in the editor and press Option+K / Alt+K to insert a precise @file.ts#5-10 reference. @terminal:name pulls in named terminal output directly.
The extension also offers features that have no CLI equivalent at all.
- Multiple conversation tabs — open parallel conversations as separate editor tabs (Cmd+Shift+Esc), with colored status dots (blue = permission pending, orange = finished while hidden)
- Rewind UI — hover over any message to fork the conversation, revert code, or both
- Plan editing — in Plan mode, review and edit Claude’s proposed plan before execution
- Visual conversation history — browse past sessions by time period with keyword search, including a “Remote” tab for sessions started on claude.ai
- File drag-and-drop — hold Shift while dragging files into the prompt box
- Plugin management GUI — graphical interface for installing and toggling plugins
These features lean into what a GUI does well: spatial layout, point-and-click interaction, and visual feedback. If your workflow involves reviewing diffs, managing multiple conversations, or editing plans before execution, the extension panel is the right choice.
What the Two CLI Variants Do Best
Whether you run it in the integrated terminal or an external terminal, the CLI retains features the extension hasn’t exposed. Some of these are power-user conveniences; others are fundamental capabilities with no extension equivalent.
Scripting and automation is the biggest gap. The -p flag enables single-shot prompts that return output and exit. Combined with --output-format json or stream-json, this enables piping, programmatic integration, and CI/CD workflows.
$ claude -p "Summarize this file" --output-format json < input.txt
{"result": "..."}
No extension equivalent exists for this workflow.
The full command set is another gap. The extension exposes a subset of slash commands. Commands confirmed as CLI-only include /rewind (also press Esc twice), /vim, /doctor, /export, /teleport, and /desktop. The official docs note: “Not all built-in Claude Code commands are available in the extension.”
The CLI also provides flags that have no extension counterpart.
--max-turns,--max-budget-usd— cost and turn limits--json-schema— structured output validation--allowedTools,--disallowedTools— granular tool restrictions--agents— dynamic subagent definition via JSON--system-prompt,--append-system-prompt— full system prompt control--fallback-model— automatic model fallback
These flags are documented in the CLI reference.
Beyond flags, the CLI supports agent teams and delegate mode for multi-agent orchestration (--teammate-mode, delegate permission mode via Shift+Tab), vim editing mode (/vim), ! bash shortcut for running shell commands inline, tab completion for commands and file paths, and Ctrl+R for reverse history search. None of these are available in the extension.
When to Use Each Mode
Each mode has a sweet spot. Picking the right one depends on what you’re doing.
Use the extension panel for reviewing multi-file refactors (the native diff viewer is far superior), managing multiple parallel conversations, architecture planning with editable plans, and quick file referencing with @-mentions. It’s also the best starting point for developers new to Claude Code — the onboarding checklist, visual history, and clickable mode switching reduce the learning curve.
Use the CLI in the integrated terminal when you want automatic IDE integration (diagnostics, Jupyter kernel execution) without extra setup. The CLI connects to VS Code’s language server and diff viewer as soon as you launch it. Accept the pseudo-TTY trade-off: multi-select menus, interactive checklists, and some progress spinners won’t render correctly.
Use the CLI in an external terminal for the full interactive experience with no rendering compromises. Multi-select menus, checklists, and progress spinners all work correctly in a native terminal app. Connect to VS Code via /ide to get the same diagnostics and diff viewing as the integrated terminal. This mode is also better for long sessions — community reports suggest lower memory and CPU usage over multi-hour sessions. It also supports automation and scripting (-p flag, JSON output, piping), the full command set (/rewind, /vim, /doctor, /export), and agent teams and delegate mode.
Use multiple modes together for the best experience. Run the CLI in the integrated terminal for diagnostics and full commands. Use the extension panel for interactive sessions with visual diffs. Resume conversations between surfaces with claude --resume. Configure MCP servers via CLI, then use them everywhere.
Summary
The extension panel is not a wrapper around the CLI, and the CLI is not a stripped-down version of the extension. They’re two frontends to the same engine, each with genuine strengths. Running the CLI in the integrated terminal gives you automatic IDE connection at the cost of some interactive rendering. Running it in an external terminal gives you the full experience, with /ide bridging the gap to VS Code when you need it. Knowing what each mode offers, and what it doesn’t, lets you pick the right tool for each task instead of defaulting to one and hitting its limitations.